php-fpm 설치(모듈 포함)
여기서는 7.4 버전으로 설치합니다.
sudo apt install -y php7.4-fpm php7.4-gd php7.4-json php7.4-mysql php7.4-curl php7.4-mbstring php7.4-intl php-imagick php7.4-xml php7.4-zip
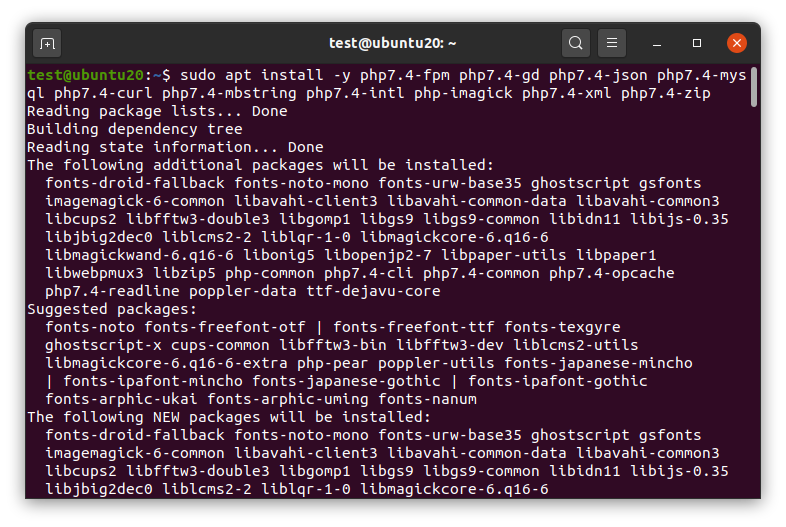
PHP 설치확인
php -v

php-fpm 설정
php가 동작하는 방식에는 소켓통신, IP통신 두가지가 있습니다.
여기서는 IP통신 방식으로 진행하도록 하겠습니다.
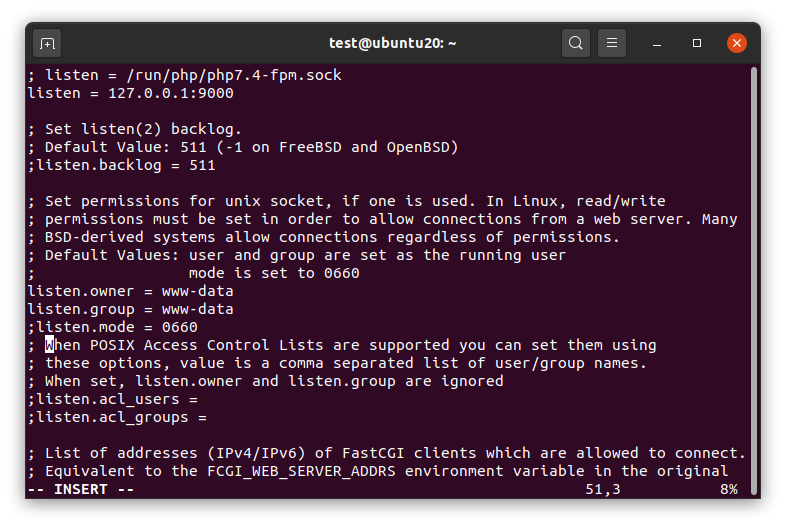
sudo vi /etc/php/7.4/fpm/pool.d/www.conf

/listen =을 검색하여 아래와 같이 수정 후,
:wq 저장합니다.
listen = 127.0.0.1:9000
PHP 재시작
sudo systemctl restart php7.4-fpm.service

127.0.0.1:9000 수신확인
sudo netstat -lntp

PHP 최적화(프로세스)
현재 프로세스 확인
ps -ef | grep php

설정값 변경
sudo vi /etc/php/7.4/fpm/pool.d/www.conf

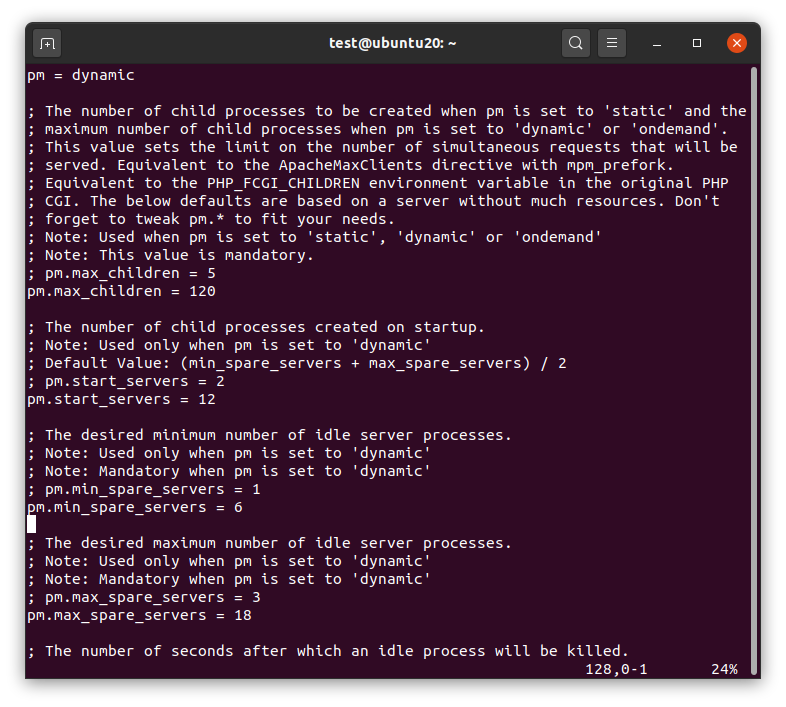
/pm = dynamic으로 검색 후
아래와 같이 수정 후, :wq 저장합니다.
pm.max_children = 120
pm.start_servers = 12
pm.min_spare_servers = 6
pm.max_spare_servers = 18
PHP 재시작
sudo systemctl restart php7.4-fpm.service

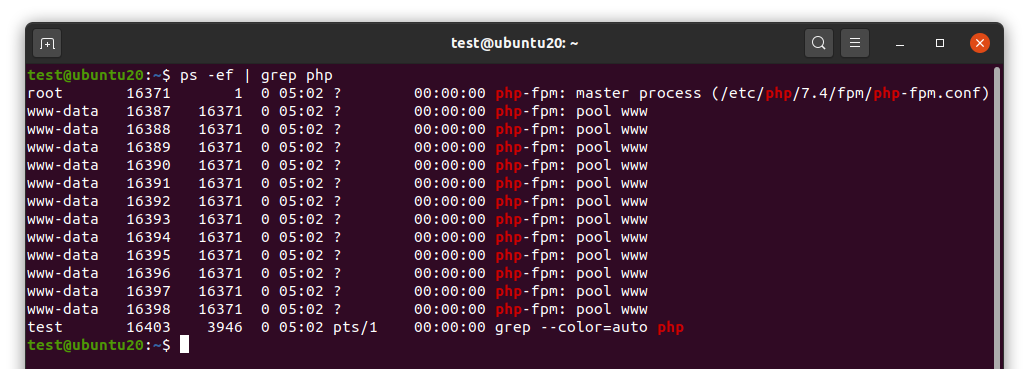
프로세스 확인
ps -ef | grep php
PHP 최적화(메모리 및 업로드 크기)
php.ini 파일 수정
sudo vi /etc/php/7.4/fpm/php.ini

아래와 같이 메모리와 용량을 용도에 맞춰서 수정 후,
:wq 저장합니다.
memory_limit = 1024M
post_max_size = 128M
upload_max_filesize = 128M


PHP 재시작
sudo systemctl restart php7.4-fpm.service

Nginx 설정파일 변경
default 파일 수정
sudo vi /etc/nginx/sites-available/default

아래 내용 참고하여 수정 후,
:wq 저장합니다.
##
# You should look at the following URL's in order to grasp a solid understanding
# of Nginx configuration files in order to fully unleash the power of Nginx.
# https://www.nginx.com/resources/wiki/start/
# https://www.nginx.com/resources/wiki/start/topics/tutorials/config_pitfalls/
# https://wiki.debian.org/Nginx/DirectoryStructure
#
# In most cases, administrators will remove this file from sites-enabled/ and
# leave it as reference inside of sites-available where it will continue to be
# updated by the nginx packaging team.
#
# This file will automatically load configuration files provided by other
# applications, such as Drupal or Wordpress. These applications will be made
# available underneath a path with that package name, such as /drupal8.
#
# Please see /usr/share/doc/nginx-doc/examples/ for more detailed examples.
##

# Default server configuration
#
upstream php-handler {
	server 127.0.0.1:9000;
}

server {
	client_max_body_size 128M;

	listen 80 default_server;
	listen [::]:80 default_server;

	# SSL configuration
	#
	# listen 443 ssl default_server;
	# listen [::]:443 ssl default_server;
	#
	# Note: You should disable gzip for SSL traffic.
	# See: https://bugs.debian.org/773332
	#
	# Read up on ssl_ciphers to ensure a secure configuration.
	# See: https://bugs.debian.org/765782
	#
	# Self signed certs generated by the ssl-cert package
	# Don't use them in a production server!
	#
	# include snippets/snakeoil.conf;

	#root /var/www/html;
	root /home/test/www;

	# Add index.php to the list if you are using PHP
	index index.php index.html index.htm index.nginx-debian.html;

	server_name _;

	access_log /var/log/nginx/web.access.log;
	error_log /var/log/nginx/web.error.log;

	location / {
		# First attempt to serve request as file, then
		# as directory, then fall back to displaying a 404.
		try_files $uri $uri/ /index.php?$args;
	}

	error_page 404	/404.html;

	# redirect server error pages to the static page /50x.html
	#
	error_page 500 502 503 504	/50x.html;
	location = /50x.html {
		root	/usr/share/nginx/html;
	}

	# pass PHP scripts to FastCGI server
	#
	location ~ \.php$ {
	#	include snippets/fastcgi-php.conf;
	#
	#	# With php-fpm (or other unix sockets):
	#	fastcgi_pass unix:/var/run/php/php7.4-fpm.sock;
	#	# With php-cgi (or other tcp sockets):
		fastcgi_pass php-handler;
		fastcgi_param SCRIPT_FILENAME $document_root$fastcgi_script_name;
        	include fastcgi_params;
		fastcgi_read_timeout 300;
	}

	# deny access to .htaccess files, if Apache's document root
	# concurs with nginx's one
	#
	location ~ /\.ht {
		deny all;
	}
}


# Virtual Host configuration for example.com
#
# You can move that to a different file under sites-available/ and symlink that
# to sites-enabled/ to enable it.
#
#server {
#	listen 80;
#	listen [::]:80;
#
#	server_name example.com;
#
#	root /var/www/example.com;
#	index index.html;
#
#	location / {
#		try_files $uri $uri/ =404;
#	}
#}
Nginx 재시작
sudo systemctl restart nginx.service

PHP 테스트
PHP 파일을 샘플로 만들어서 진행
default의 root 경로에 넣어주면 됩니다.
저같은 경우 /home/test/www 입니다
vi /home/test/www/index.php

내용 간단하게 복붙 후, :wq 저장합니다.
<?php
phpinfo();
?>

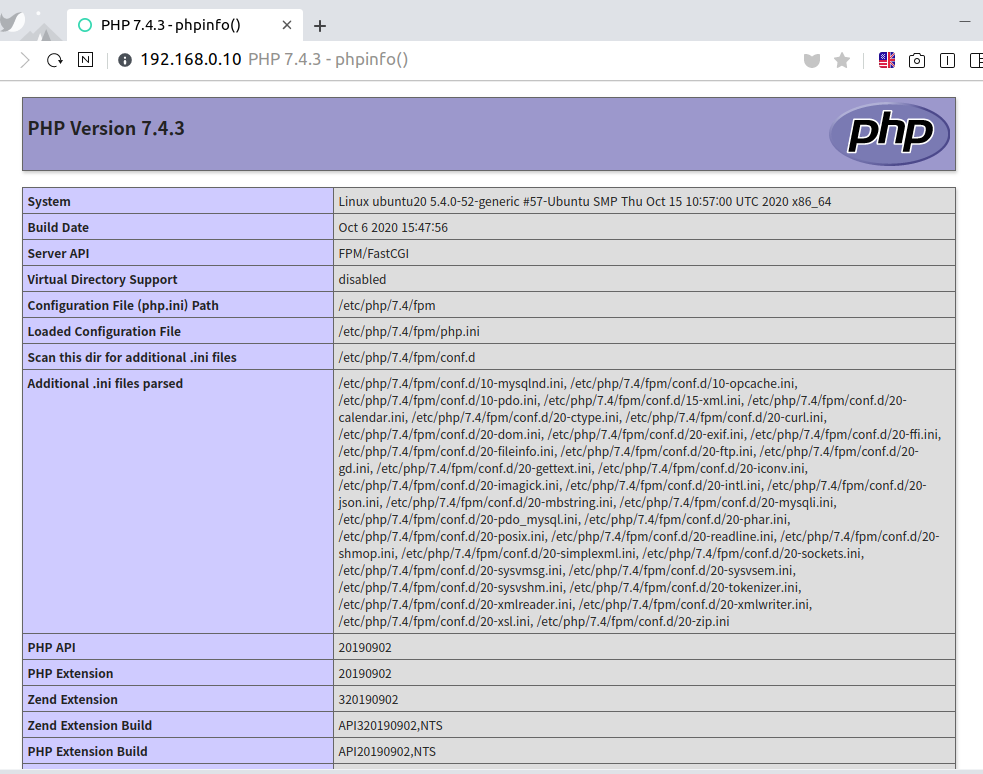
웹에서 IP 접속 및 정상 작동 확인
이상으로 Wordpress 설치하기 2부 - PHP-FPM 설치 및 설정이었습니다.